
Awarding Workplace badges to users via The Bot Platform
In this tutorial, we will learn utilizing The Bot Platform to award custom badges on Workplace.
Knowledge Level: Advanced
Purpose
In this tutorial, we will utilize The Bot Platform to trigger a webhook which will execute a Workplace API call. The API call will award the bot user with a custom badge which we have already setup in Workplace.
Prerequisite
- A bot
- A Make account
- A Workplace custom integration
- Your favorite beverage (I went with a berries smoothie for this one!)
Setting up the bot
You can utilize any existing bots that fit this use case. Some great examples would be:
- Learning and Development
- Surveys and Feedback
- Staff Onboarding
You can find templates for these use cases when you are creating a new bot on our platform. You can find a guide about our template library by clicking here
Setting up the custom integration
When you setup the custom integration, we need to make sure it has the following permission:
- Manage badges
- Read work profile
We need the first permission to be able to award badges to user's. The second permission is required so that the integration can read the user's profile who is being awarded the badge.
For instructions on setting up a custom integration, please click here
Setting up the Make scenario
For our Make scenario, we will be using the following modules:
- Custom webhook
This will be our trigger when a user completes an action via the bot which warrants a trigger. - HTTP (Make an API key Auth request)
This module will help us extract the badge id from Workplace which we will need to award the badge to a user. - Parse JSON
This module will be used to structure the badges as badge name, id for easier reading. - Webhook response (Option)
Use this module if you would like to respond to the user at the end of the flow and confirm that a badge has been awarded.
Setting up Custom webhook module
In this step we will setup the webhook which will trigger the awarding of the badge the ticket information from the bot.
Login to www.make.com
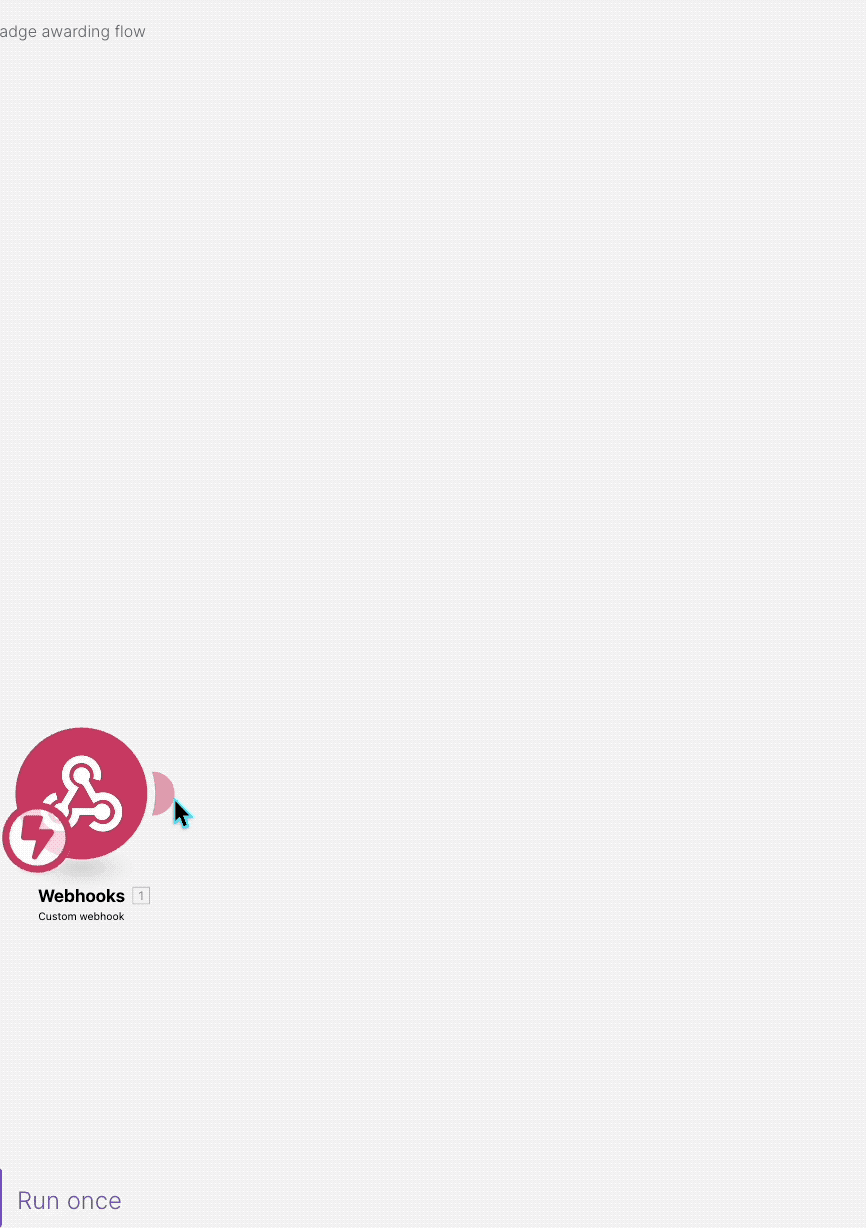
Create a new scenario and click the + sign to add a new connection. From the list, search for ‘Webhook’ and choose ‘Custom Webhook'
Paste webhook url to your botAfter creating the webhook module. Please make sure to copy and paste the url into your bot as a 'Webhook' message part.
Obtaining Badge ID
For this integration to work, we need the custom badge idof the Workplace badge which the user is going to be awarded. But, the Workplace admin panel does not have the badge id readily available, we will need to utilize a Workplace API call to list all of the custom badges in our Workplace instance, along with their badge ID (annoying I know!)
So, temporarily, we will setup an HTTP module in our Make scenario to find out our badge ID. Let's setup an HTTP module, specifically this one:
- HTTP - Make an API Key Auth request
Once you've added this module, let's configure it so we can get the required badge id. We will insert the following information in this module:
- Our Workplace Custom Integration access token.
- URL of the API endpoint to extract custom badge details from your Workplace instance.
Here's how we will configure it:
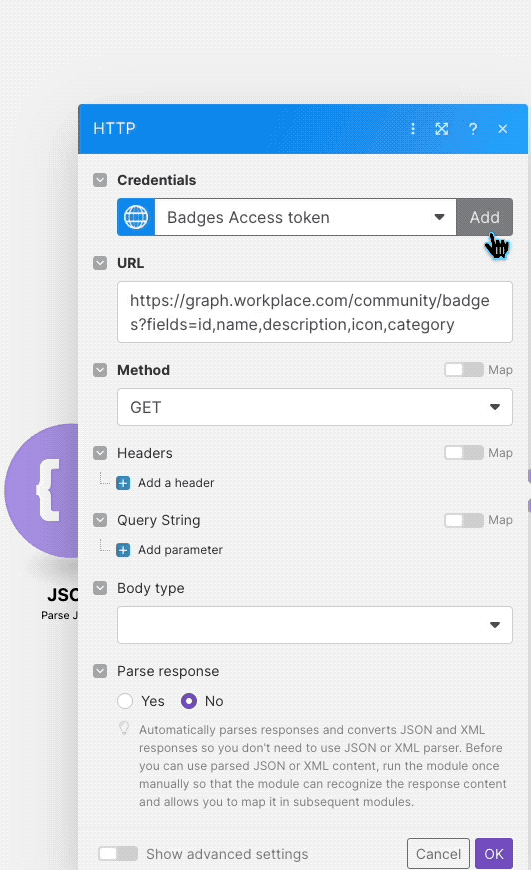
https://graph.workplace.com/community/badges?fields=id,name,description,icon,categoryOnce you've configured this and saved your changes, right click on the module and click run once.
As seen in the GIF above, when the module runs successfully it lists all the custom badges with their name and ID as an output in the scenario.
All we need to do is capture the number mentioned after the # sign from the relevant badge. Once you have safely copied this, feel free to delete this module as we won't need to run this each time our scenario executes.
I would advise storing the badge within the scenario under a 'Set Variable' module. This will be useful if you intend to use multiple badges in the future.
Awarding the badge via Workplace API
Up until now, we have:
- Setup a webhook to trigger our Make scenario when a user completes an action on the bot
- Obtained the badge ID to tell the API call which badge is to be awarded to the user
In this final step, we are going to configure another 'HTTP' module which will award the badge to our bot user.
We will use the following API endpoint from Workplace:
POST graph.facebook.com
      /{member-id}/badges?badge=workplace_custom#{badge_id}
As per the Workplace API documentation, the # in the above URL needs to be encoded. That means we cannot use the # sign as is within our API call, we have to convert it to a URL code which is usually the % sign along with a bunch of numbers.
I use this tool to find out the equivalent of # sign in a URL. In the above example, we will have to replace # with %23
Keeping the above in mind, let's add a new HTTP - Make an API Key Auth request module. In the configuration, paste API call URL in the following format:
https://graph.workplace.com/{{1.fbuser.email}}/badges?badge=workplace_custom%23{{2.`Badge ID`}}- We are using fbuser.email from the webhook output module to grab the bot user's email address.
- 2.Badge ID refers to the the badge id we stored as a variable.
The final configuration of the module will look as follows:
That completes the setup. Make sure to save your scenario and turn it on. If everything was setup correctly. If everything was done correctly, the HTTP module will show a 200 success code and the bot user will have the badge awarded to them on Workplace.

Updated about 1 year ago