
Creating a carousel using The Bot Platform's Make Connector
In this tutorial, we will setup our Make scenario to create a carousel of cards that will be presented to a bot user. The carousel will include buttons that can take the user to various different messages built within your bots.
Knowledge Level: Intermediate
Purpose
In this tutorial, we will setup our Make scenario to create a carousel of cards that will be presented to a bot user. The carousel will include buttons that can take the user to various different messages built within your bot.
Prerequisite
- A bot
- A Make (formerly Integromat) account with a bot connected to it.
- Your favorite beverage. I went with a strawberry smoothie in line with the weather.
If you don't have a bot already connected to Make, please visit our guide by clicking here on how to do so.
Setting up the bot
For this tutorial, you should already have a functioning bot with various messages configured. If you don't already have one, please set up one on https://app.thebotplatform.com
Setting up Make scenario
We will be using the following module in our scenario:
- The Bot Platform - Create a carousel card for a user
After logging in to Make, click on 'Create a new scenario'. Add a new module and look for 'The Bot Platform'. From the list of modules, chose 'Create a carousel card for a user'.
Once the module is added, choose the relevant bot you want to use from the 'Connection' dropdown.
In the recipient column, enter the email or profile ID of the user who you would like to send the carousel. You can also send the carousel to multiple users by using a Google Sheet or Excel module which contains the email addresses or profile id's.
Once the user(s) is sorted, we can begin building our carousel. Within the module, click on 'Add Item' to create a card.
You will notice there's a lot of fields that need to be filled. No worries! Let's go through it one by one:
- Title of Card
This field refers to the main heading of the card. Chose an appropriate title. - Subtitle of the card
This field refers to the subtitle heading of the card. Setup one to your liking. - Button Configuration
This menu lets you create buttons to go along with your carousel card. A maximum of 3 buttons can be created, each button can correspond to a different message of your choosing which is already setup within your bot. Within the button configuration, PreDefined message is a dropdown list, referring to the messages available within your bot that can be activated upon clicking the button you are configuring.
Currently, you can only configure:
- Maximum of 10 Carousel Cards
- Maximum of 3 buttons on each card
For the purpose of this tutorial, we will create 2 cards, each containing one button. The first card will prompt the user to begin a survey. The second card, will let the user kick start a feedback process.
Here's how the configuration will look for the first card:
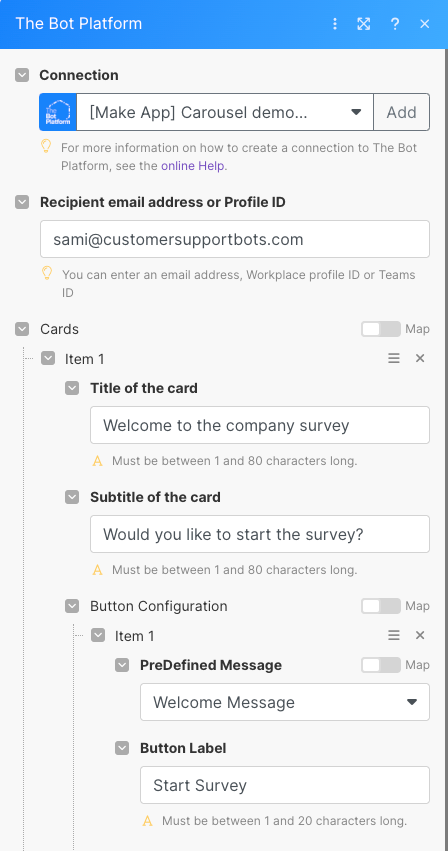
We picked the 'Welcome Message' as our corresponding message for the button 'Start Survey'.
Here's how the configuration will look for the second card:
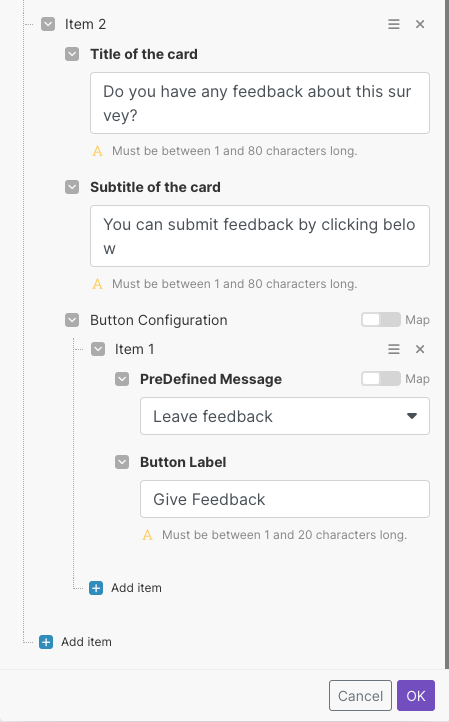
We have now completed the configuration of our card. Click Ok to confirm the changes and make sure to click 'Save Scenario' in Make to save all flow.
If everything was setup correctly, you should be able to click on 'Run Once' in Make under your scenario which will create the carousel and send it to the user you defined in the module.
Below you can see the carousel in action:
Updated about 1 year ago