
Quickstart for Teams bots
Creating your first Teams bot is super easy. Here's a handy video to show you how to build your first Teams bot:
Step by step guide
-
Log in to The Bot Platform
-
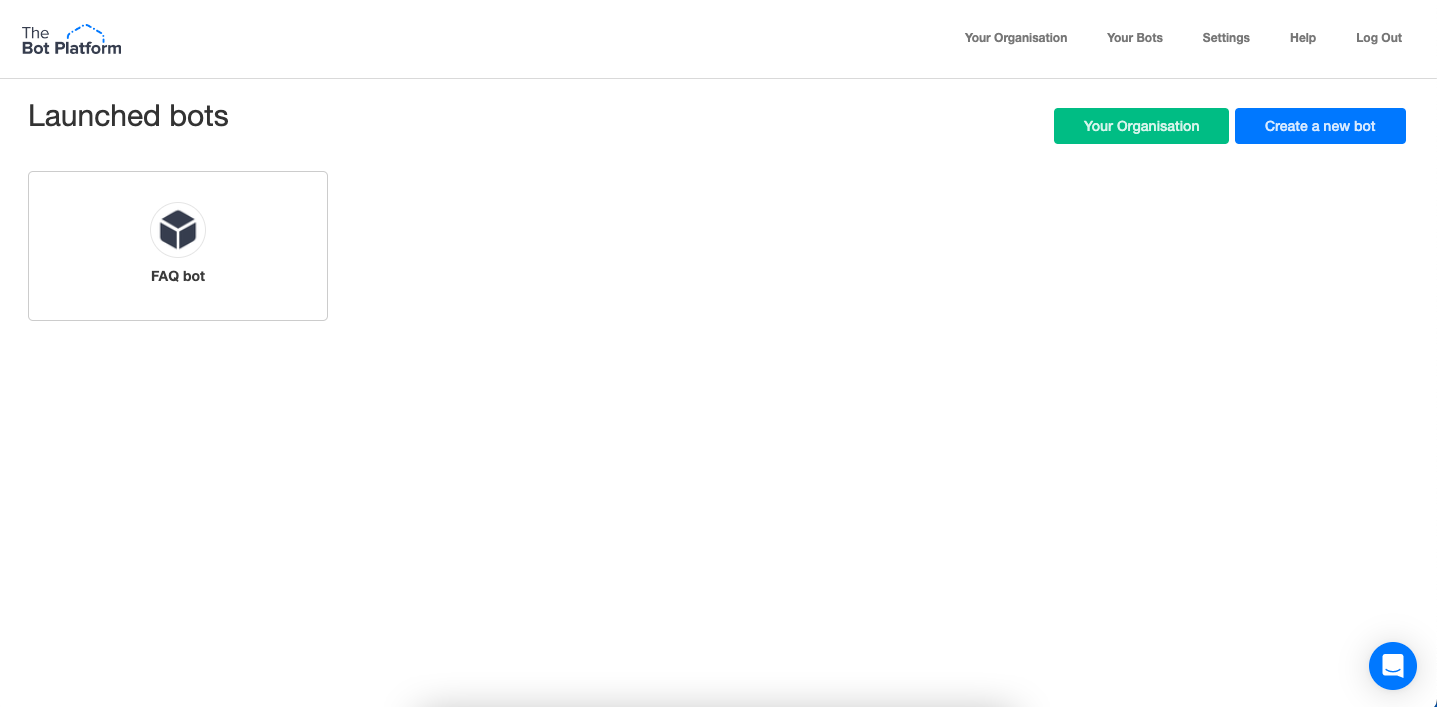
Create a bot
Click the ‘Create a bot’ button in the top right corner. You will then be taken to a page where you can choose whether you want to create your bot from a selection of our templates, or start from scratch.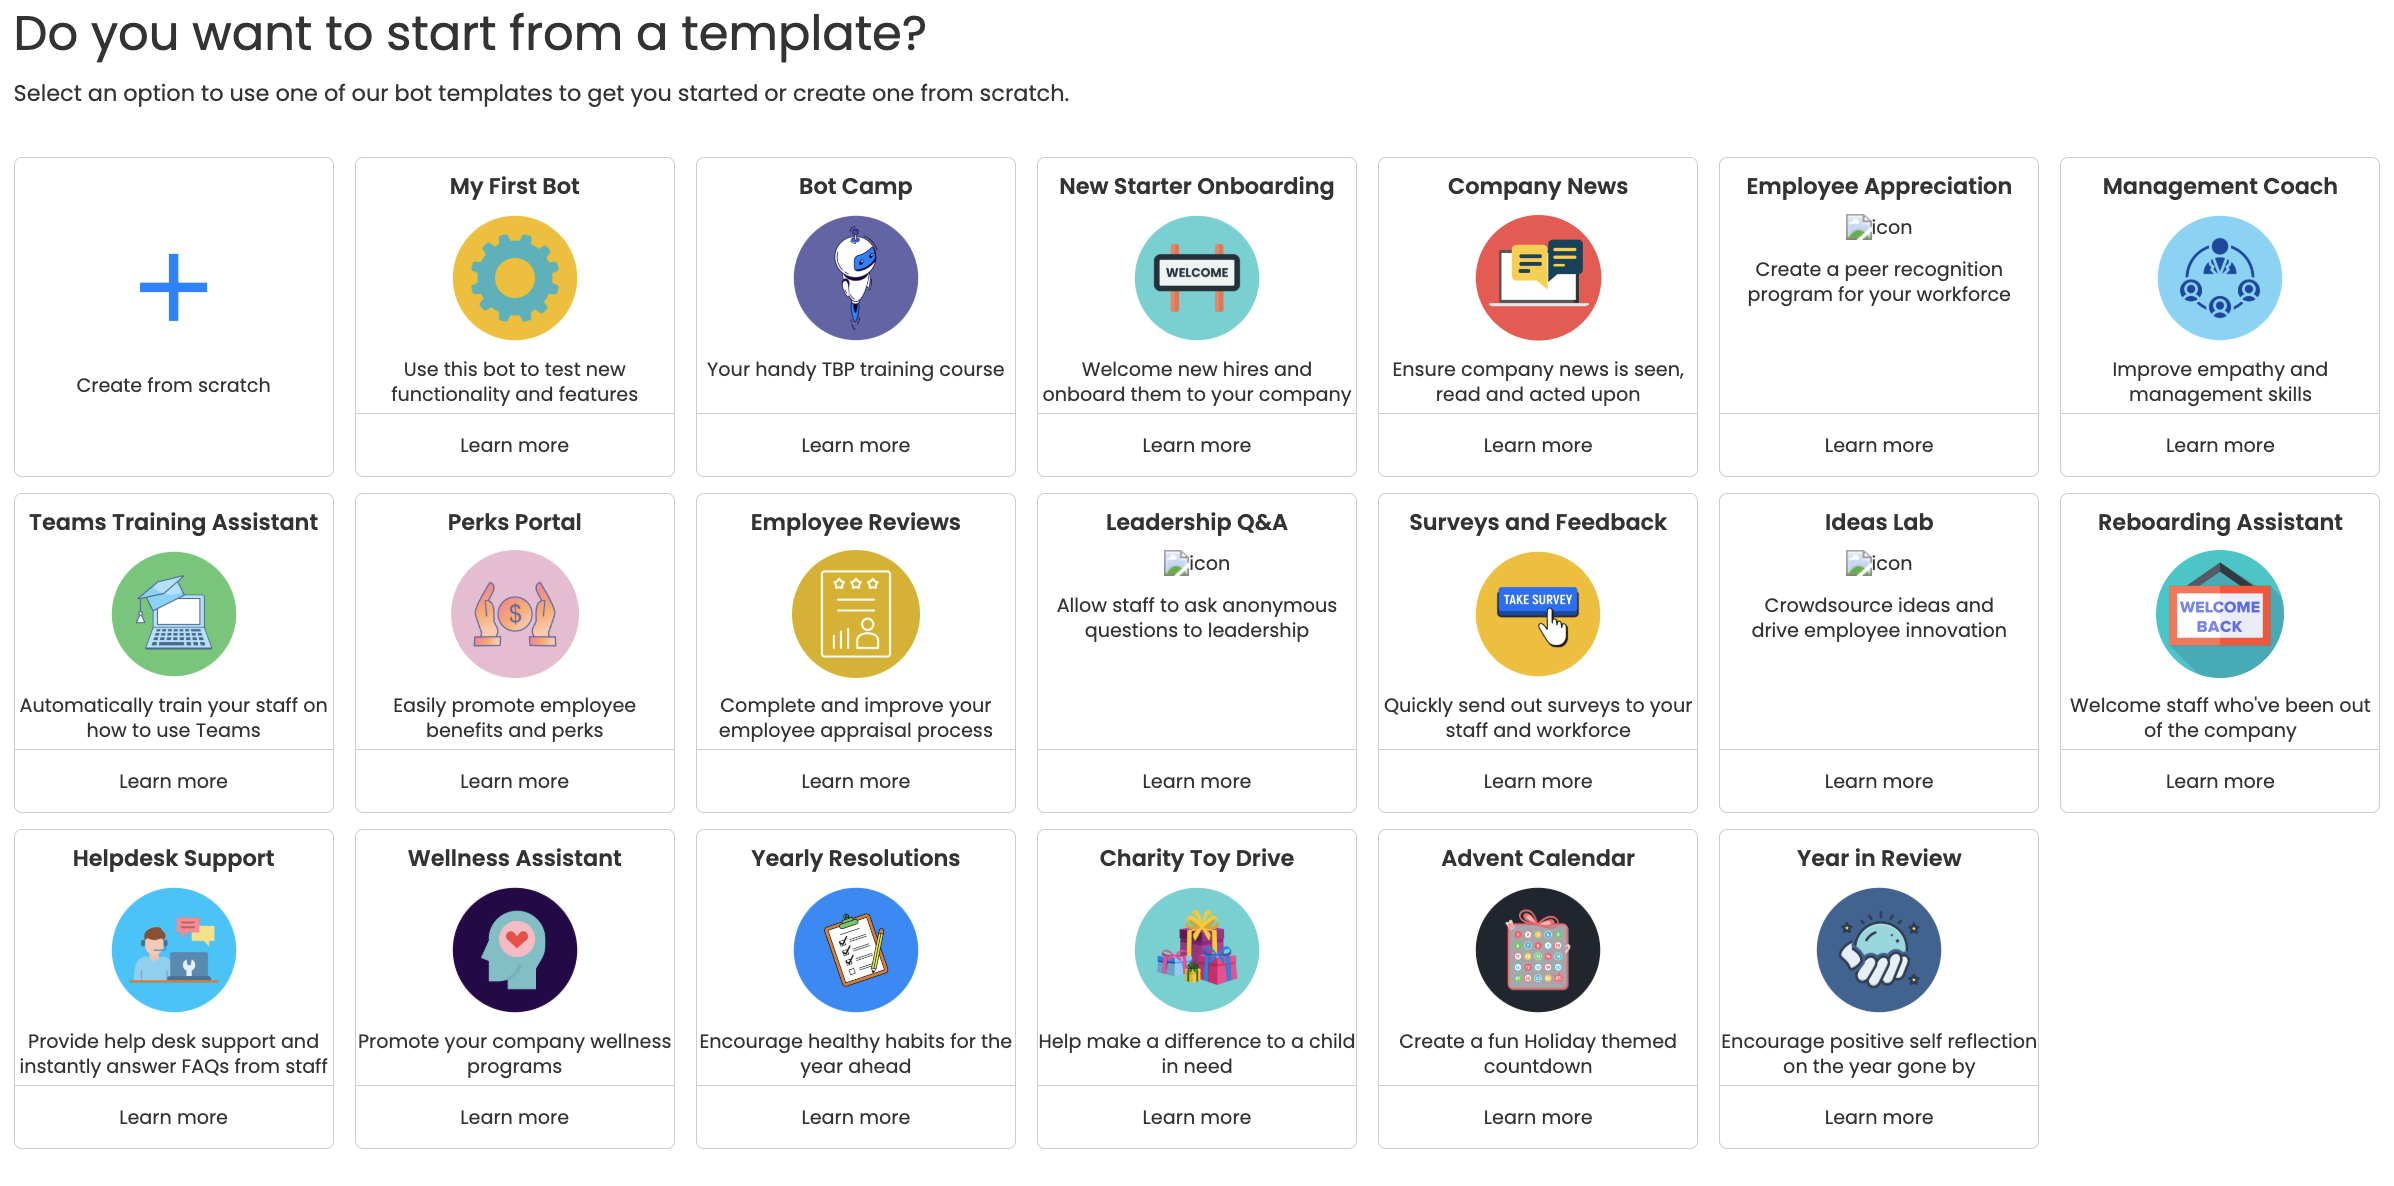
-
Name your bot
Once you've chosen, it's time to name your bot! Don't worry if you haven't got a final name for your bot yet - the actual name of your bot will be added when you connect your bot to Teams later on.
You can also choose to make your bot anonymous - this allows the bot to create data anonymously. You can find out more about anonymous bots here. Once you've named your bot, you will be taken to the dashboard.
-
Start building and editing your bot
Go to the message list in your bot and click on the "Edit" on your welcome message to start building your bot: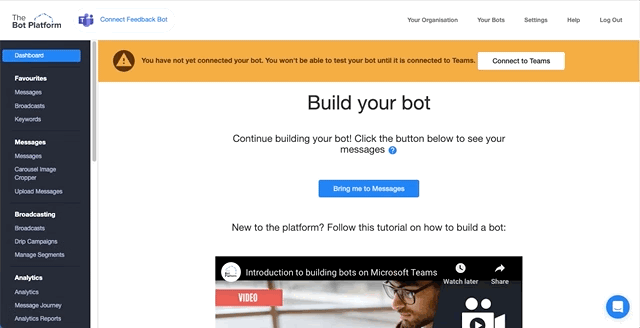
Make sure you connect up your messages - the most common way is by using a button. You can add your button(s) to a textbox by clicking "Add a button", then configuring the button setting by clicking the cog. Select "Send a message" and create a new message to connect to. This message will then show up in your message list once you've saved your current message.
- Plan and build out the rest of your bot
Carry on building your messages. We recommend planning out your bot flow before you start - you can find out more about how to do that here. You can also use our bot planning worksheet to help you establish audiences, KPIs etc.
If you haven't connected up your bot yet, you can preview your bot flow using navigation mode.
-
Connect up your bot
Once all your messages are built, click the "Connect to Teams" button to start setting up your integration: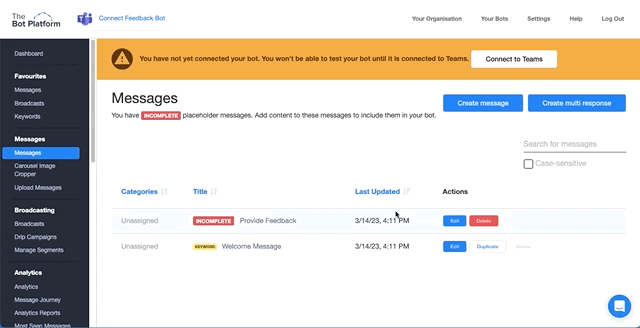
To find out how to connect up your Teams bot, check out this help doc.
Updated about 1 year ago