
Return an image as a response
Purpose: This tutorial will teach you to send an image through a bot, using Make(formerly Integromat) and an html image service, we will add a frame on top of the image that has been sent to the bot.
For this tutorial, you will require:
- A bot
- A Make(formerly Integromat) account (free)
- An HTML/CSS account (free version is fine for upto 50 images) check out https://htmlcsstoimage.com
- Your frame image (JPEG/PNG format preferred) saved on your local machine.
- Your favorite cold beverage
First step: Create your bot
Setup your bot with the following message parts:
- Welcome message
- Request to upload a picture
- Thank you message that takes the image and passes it through a webhook
After creating your messages, go to the left hand menu in The Bot Platform and click on 'Media Responses'. From the drop down under 'When a user sends an image, reply with', choose the thank you message that has the webhook link.
Make sure you save your changes and push them live to your bot.

Make(formerly Integromat) Scenario
We will need the following modules in our scenario:
- Custoom Webhook
- HTML/CSS to Image
- Webhook response
When completed our scenario will look as follows:
First add a custom webhook module. Add a new webhook and give it a suitable name. Now you need to copy the webhook URL generated and paste it into the webhook message within the thank you message on the Bot Platform.
Now click the 'Run once' button on your Make(formerly Integromat) scenario and test your bot by going through the message flow and uploading an Image. The image url will appear in the 'attachment' area of the webhook, as demonstrated below:

Next, we need to add in the next module which is the HTML/CSS to image module in Make(formerly Integromat) - Create an Image with HTML/CSS.
In order to use HTML/CSS to Image with Make(formerly Integromat), it is necessary to have a HTML/CSS to Image account and to link it with your Make(formerly Integromat) account. You can find a help document to assist you with this Here.
In the HTML box, you want to pull through the image URL and the message you want to add. In our example, we use the following HTML code:
<div class='box'><div class='avatar' style="background-image:url('{{1.item.message.attachments[].payload.url}}')"></div><div class='overlay' style="background-image:url('https://cdn.pixabay.com/photo/2017/11/10/16/59/frame-2936877_960_720.png')"></div></div>
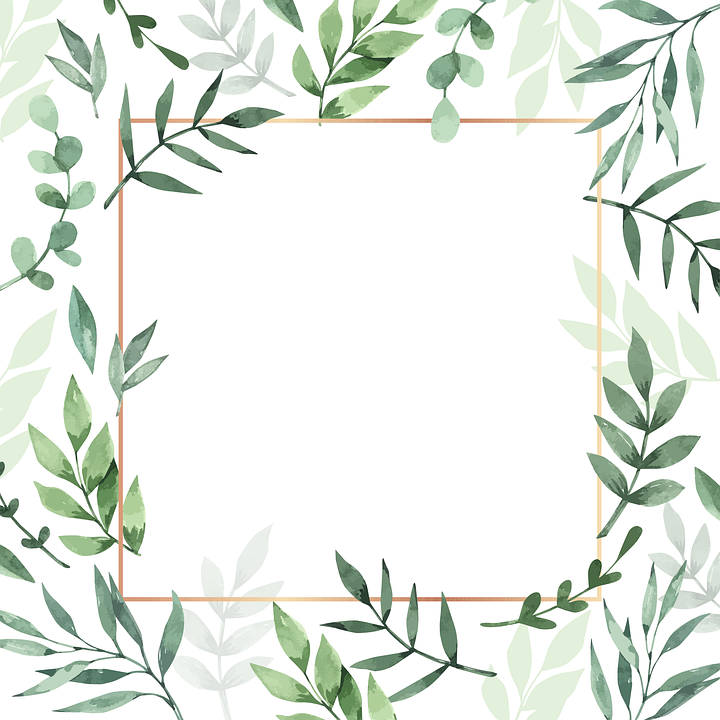
**Note: In our use case, we are using a frame image which can be found in the 'image:url' are of the HTML code. You can use any other public url of your choice for adding a different kind of frame.
You can also use this frame url: https://cdn.pixabay.com/photo/2020/02/06/01/52/frame-4822807_960_720.png
Or you can visit https://www.pixabay.com and search for your desired frame. Once you find the frame you are looking for, simply right click on the image and click 'Copy Image address' and paste it in the html code after the image:url value.
In the CSS box you want to send the instruction to overlay one image onto the received image by entering the following HTML code:
.box {width:1000px;height:1000px;position:relative;}
.avatar, .overlay {
	position:absolute;
	width:1000px;
	height:1000px;
background-size:cover;
background-position:50% 50%;
}
.overlay {
	z-index:2;
}
The final module is a webhook response to send back the completed image to the bot user.
To return the image we use the following json for the webhook response. In this example we use the FBID pulled through from the initial webhook and the image url generated by the 'HTML/CSS to Image' module.
You can use the following code for your webhook response module:
{
  "recipient":{
    "id":"{{1.fbuser.fbid}}"
  },
  "message":{
"raw": {
    "attachment":{
      "type":"image",
      "payload":{
        "url":"{{2.url}}",
        "is_reusable":false
      }
    }
  }
}
}
This was the last step. Make sure you save all the changes and turn on the scenario.
Now if you test the bot, it should return your uploaded image with a frame on top of it.
Happy framing