
Uploading multiple attributes to a Microsoft Teams bot using Make connector
Knowledge Level: Intermediate
Purpose
In this tutorial, we will learn to upload multiple attributes to a Microsoft Teams bot using The Bot Platform's Make connector. For this use case, we will need a spreadsheet which contains the name of the attributes and a bot that will receive these attributes.
Prerequisites
- A bot
- A spreadsheet
- A Make account
- A beverage as always (Oreo milkshake for me on this one)
You will need a bot which is already connected to Make. If you would like to set it up, please click here for a guide to connect your bot to Make.
Setting up the spreadsheet
In the first step, we will prepare our spreadsheet which will consist of all the attributes we want to setup in the bot
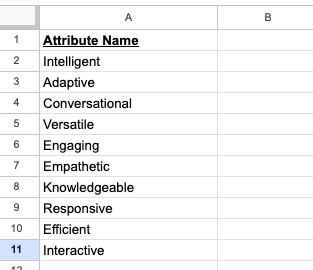
Setup a new spreadsheet, in the first column add the heading 'Attribute Name'. Under this column, list all the attributes you would like to setup in the bot. See example below:
Setup the Make scenario
For the Make scenario, we will be using two modules for this use case:
- Google Sheet (Search Rows)
- The Bot Platform (Create a User Attribute)
Start by creating a new scenario in Make. We will begin adding the relevant modules in the next steps.
Setup Google Sheet module
In this step, we will configure our first module which is related to Google Sheets. After creating a new scenario in Make, click on the '+' sign to add a new module. Search for Google Sheets and select 'Search Rows'.
Once the module is selected, choose the spreadsheet you have recently setup. We need to search the spreadsheet and find all the values listed under the first column which contain the attribute names. So in the search criteria, we will choose Column A for the column we are searching, in the filter criteria we will look for all values that are existing in the list. The final configuration will look as follows:
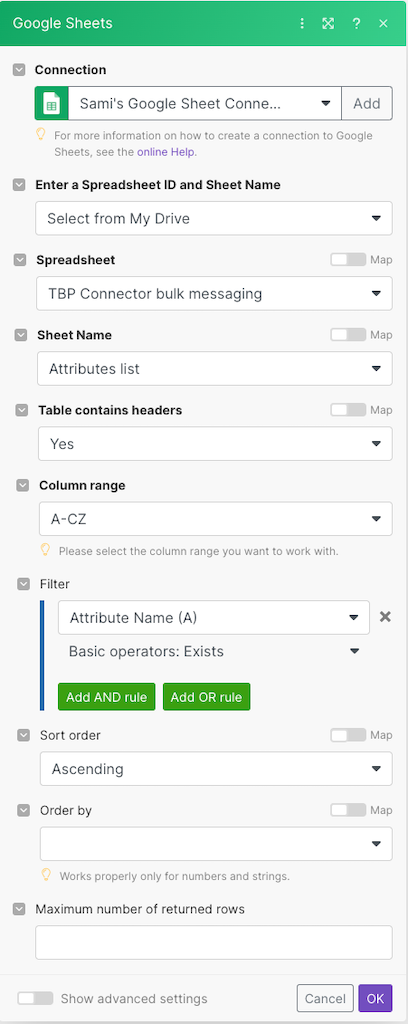
Once you have set this up, save the scenario and run the module once to see the results of search module.
In the outputs of the scenario, you should see all the attributes that are listed in the spreadsheet.
Setup The Bot Platform Module
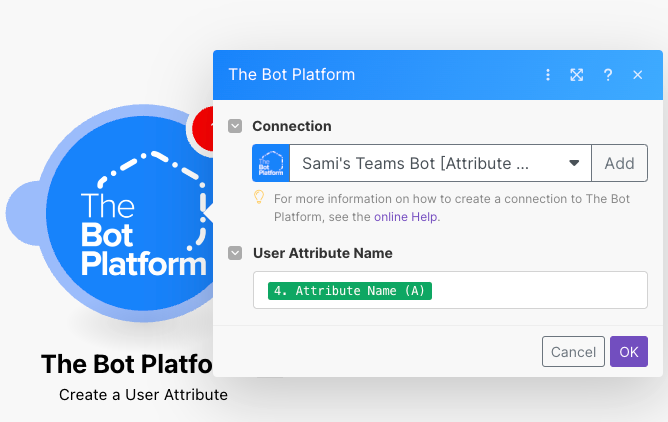
In the next and final step, we will add The Bot Platform's module in our Make scenario. Click on add a module and search for 'The Bot Platform. From the module list, click on 'Create a User Attribute'.
Make sure you chose the correct bot from the connection drop down list.
Now, we need to input the attribute names which are being output from the Google Sheet's Search Module. After adding The Bot Platform module, click on the 'User Attribute Name' field. From the available outputs, choose the output from Google Sheet which should be labeled as 'Attribute Name'.
The final configuration will look as follows:
This was our last step. Make sure to save all the changes to your scenario.
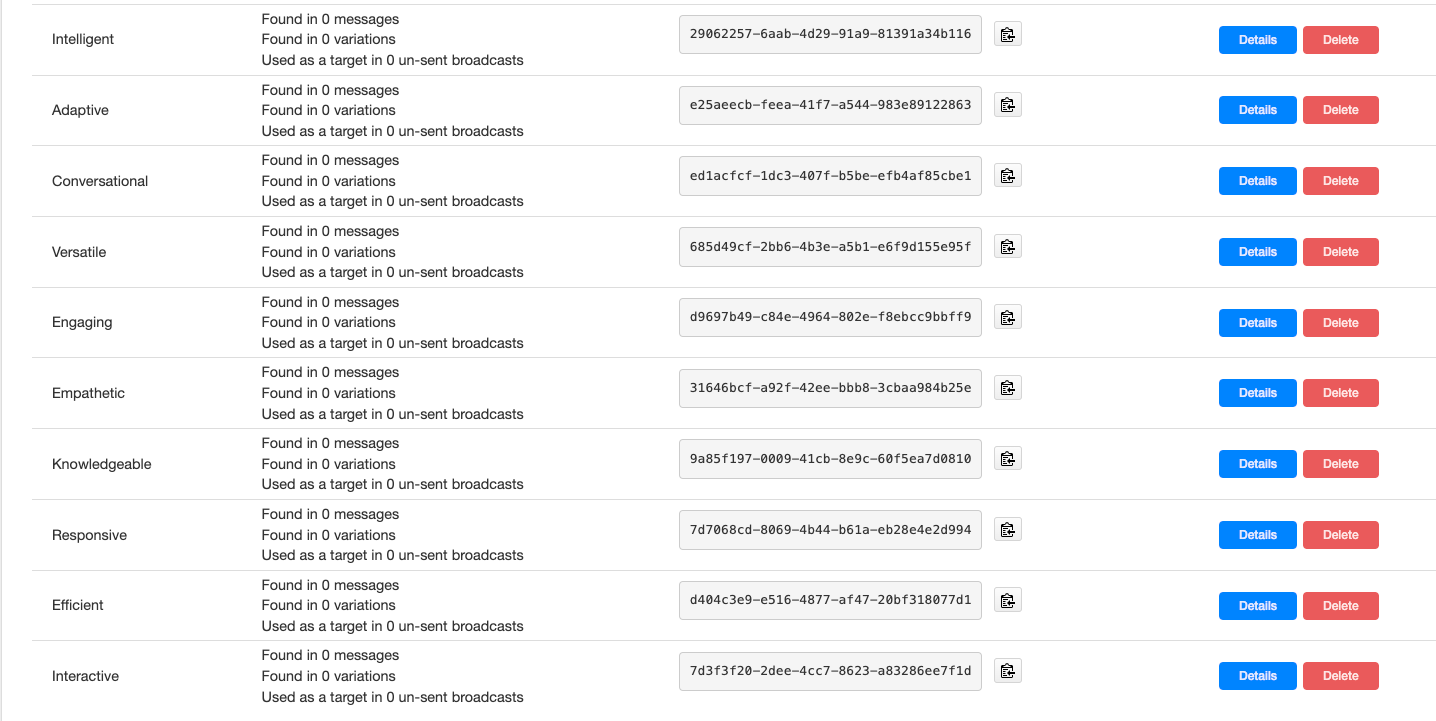
If everything was setup correctly, when you execute the flow, all your attributes should appear in the platform.
As you can see from the above example, the execution iterated through each attribute and uploaded it to the bot. For confirmation, here's a screenshot from the platform showing all the attributes available to be used:
Happy attributing!
Updated about 1 year ago