
Button Settings
Buttons can be added to text parts, or carousel cards.
How to set up a button
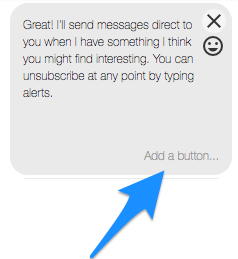
- Select ‘Add a button…’
Once you add a button give it a label name. This is what your bot users will see. Add emoji by selecting the smiley face.
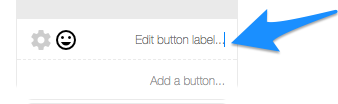
- Set up how you’d like your button to work
Select the cog which will display a settings screen.
Choose what you would like to happen when the button is selected by a bot user. The options are:
Send message:

Select the message you’d like to send when the button is selected. You can create a new message by typing a title and selecting ‘create new’.
Open URL: Add the web link you’d like to open when a user selects the button.
Broadcast: This allows you to give the user the option to opt-in or opt-out of receiving broadcast messages. A great tool to build your subscriber list.
Save user attribute and send a message: This let’s you save the option a bot user has selected for later. You can reuse the information gathered in the bot or download it in a csv. More about this feature.
Call phone number: Enables you to add a phone number so that when someone clicks the button, it calls that number.
Personal data consent: This allows you to give the user the option to consent to have personal data stored in the bot eg. for competitions. More about this feature.
Custom postback: Developer feature: If you have a custom integration, this is a nice way to know when someone has pressed a specific button. For more info please get in touch.
Handover protocol: This provides the option for a person to ask to 'speak with a human' and thus the bot stops interacting until they opt (or are opted) back into the bot allowing a human to talk to them via the Facebook Inbox. More about this feature.
- Save or remove
The option to save the settings will appear when you’ve completed the required information.
You can remove the button and its settings at anytime by selecting ‘remove’.
Updated about 1 year ago