Step 3 - Posting To A Group, Tagging And Emailing
In this tutorial, we will show you how to post your nomination image to a group, include a message and tag a user, as well as how to send an email to the nominee.
First we need to create a new Make(formerly Integromat) scenario and add a custom webhook as the first module. Paste your webhook into your group post message within your bot flow.
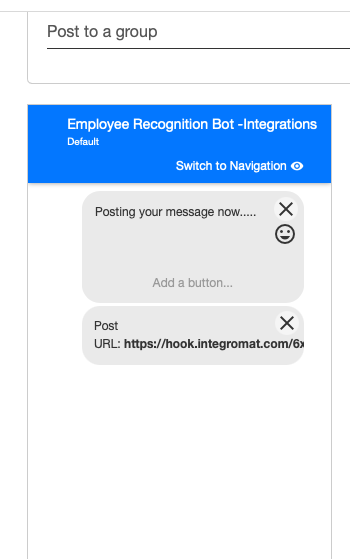
To post to a group and tag someone, you need to create a custom integration on Workplace. You need to be an admin of your Workplace account and an admin of the group you wish to post to. Go to the admin panel on Workplace and select integrations. Click on create custom integration. Give your integration a name e.g. Employee Recognition Bot and click create. In the settings for your new bot, make sure you turn off discoverable.

Now head to the permissions list using the left hand menu. Scroll down until you find the Manage Group Content permission and turn it on.

Go back to the details page as we will need the access token from this page at a later stage.
Head back over to Make(formerly Integromat) and a Google Sheets search row module after your webhook. Find your original spreadsheet and set up a filter to search for the email is equal to the confirmedperson attribute you set up in step 1.
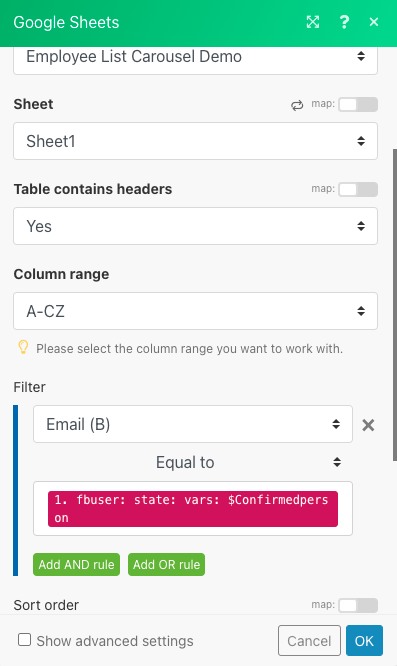
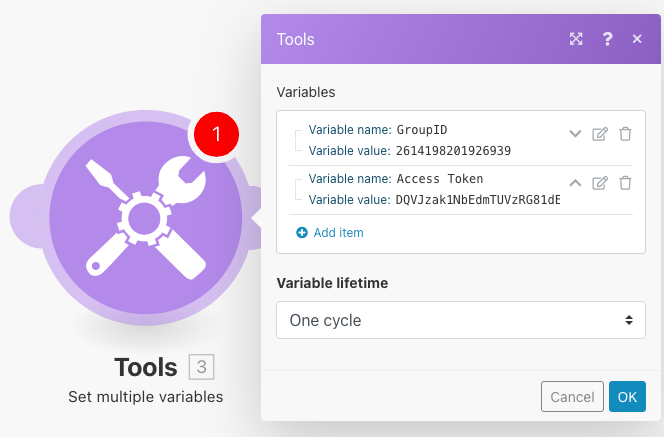
This brings back the FBID we need to tag that person in the post. Now we want to add a Set Multiple Variables module. The first variable we need to set is our GroupID. This is the ID of the group we want to post into. Head over to Workplace and go into the group you would like to post into. In the URL at the top, there is a long number. This is your group ID.

Next, we want to create a variable to store our access token. Create another variable in Make(formerly Integromat) and then head over to Workplace. Click create access token and copy out the long token into Make(formerly Integromat).
Now add in a 'HTTP Make a Request' module. In the URL field, paste the following code:
https://graph.workplace.com/v3.0/<GROUP_ID>/photos?url=http://placekitten.com/1200/601&message=A+nomination+has+just+come+in+for+%40%5B&access_token=<YOUR_ACCESS_TOKEN>Swap <GROUP_ID> with the GroupID variable you set up in the previous step. Swap the URL for the attribute nominateurl you set up in the previous tutorial. Swap out the <fbid> for the FB ID you looked up in your Google Sheets search rows step. Finally, swap out the <YOUR_ACCESS_TOKEN> for the access token variable you created.
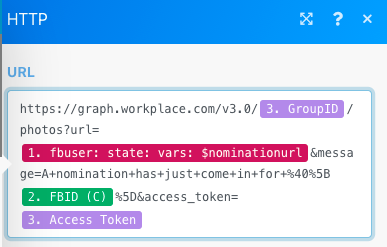
Change the method to POST and make sure you check the Parse response box.
Now we want to add a Parse JSON module. In the data box, use the data from the HTTP make a request module.
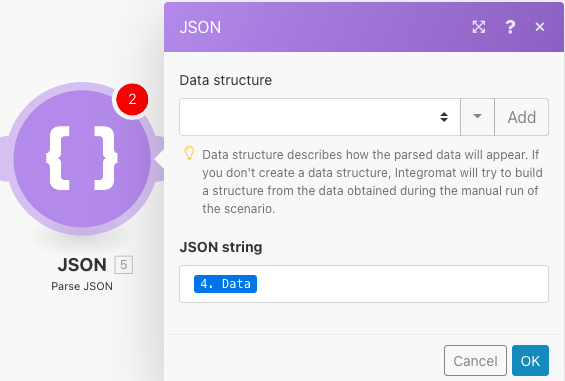
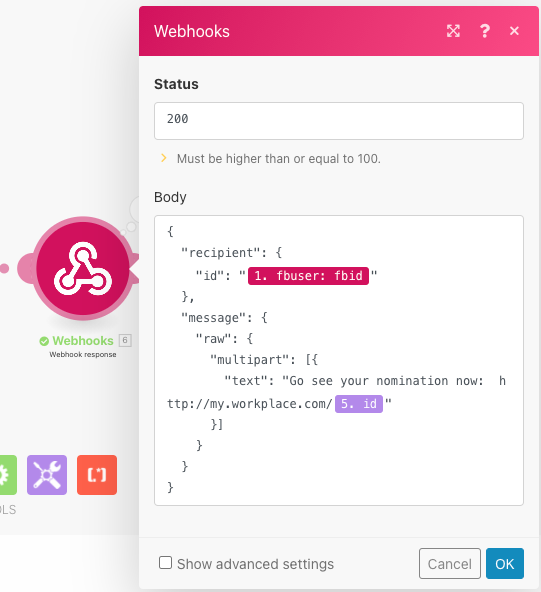
Finally we want to add a webhook response module. In the body, you want to post in the following code.
{
  "recipient": {
    "id": "{{2.fbuser.fbid}}"
  },
  "message": {
    "raw": {
      "multipart": [{
        "text": "Go see your nomination now:  http://my.workplace.com/{{15.id}}"
      }]
    }
  }
}
Swap the ID for the FBID pulled through from your webhook and replace the {{15.id}} with the ID result from your parse JSON module.

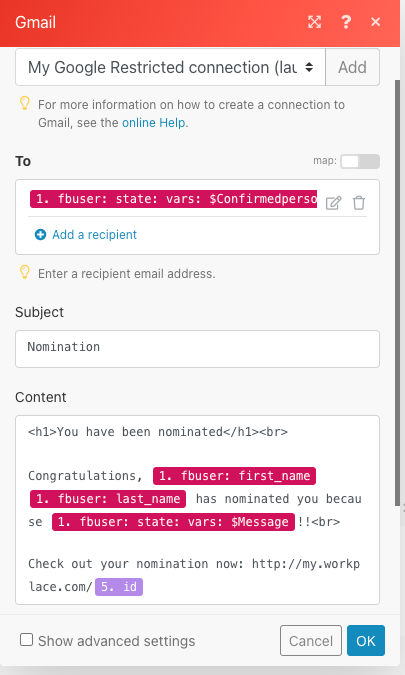
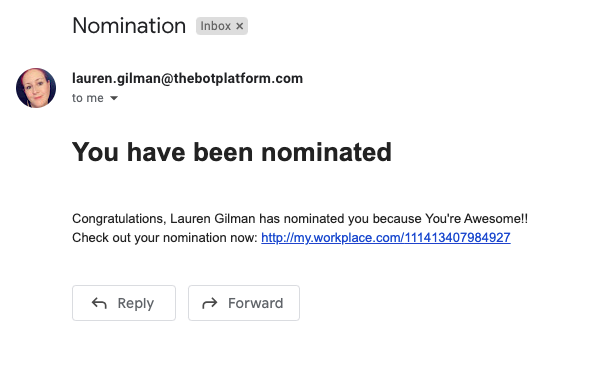
The last step is to email the nominee. To do this, we add in a Gmail - Send an email module. Link up your email account and in the to field, use the confirmedperson attribute pulled through from the webhook. You can then customise the title and message content to make it work for you. If you click on the advanced settings, you then have the option of using an alternative email address e.g. [email protected] to send your emails from.
Updated 9 months ago
